
-
Who this checklist is for
-
Step 1: Confirm the model match before opening the box
-
Step 2: Verify the thermostat type and configuration
-
Step 3: Check the electrical connections before powering up
-
Step 4: Test the condensate removal with water
-
Step 5: Check airflow and filters
-
Step 6: Register the system and save the proof
-
What this checklist doesn't cover
-
Common mistakes I still see
I review Carrier equipment before it goes out to contractors. Not a spot check—every unit that comes through our dock. Over a year that's roughly 200 heat pumps, ductless mini splits, and thermostats crossing my inspection station, plus the units that come back as warranty returns. After four years in this seat, my position hasn't changed: if a startup failure can be prevented with fifteen minutes of checking, it shouldn't happen on a rooftop or behind a finished ceiling.
This checklist started after a contractor lost a $22,000 project to a thermostat wiring mistake that a pre-start check would have caught. We've refined it through audits ever since. It won't make you a better installer by itself. It will keep you from making the expensive calls I see weekly.
Who this checklist is for
Use it when you're about to start up a Carrier ductless mini split or a ducted Carrier heat pump—especially if you're taking over a job someone else started. It also works for facility managers who inherited equipment and want a baseline before summer hits. If you're doing a new install, run through it before the drywall goes up, not after.
Step 1: Confirm the model match before opening the box
A ductless mini split is two halves: an outdoor condenser and an indoor air handler. They need to be a matched pair. I can't tell you how many times a job site has an outdoor unit from one order and an indoor unit from another—same brand, same series, but not an approved combination. The system will run, then throw an error code at the worst possible moment.
Most manufacturers publish a combination table, and matched ductless systems have AHRI certificates in the AHRI directory. That certificate is often what you need for a utility rebate, too. If the model numbers aren't on the same certificate, they're not an approved pair. Check the numbers on the actual units against the quote, not the packing slip. Record serial numbers while you're at it—you'll need them in Step 6.
Step 2: Verify the thermostat type and configuration
Here's the step that causes the most callbacks. If you're installing a ducted unit, a Carrier heat pump thermostat needs to be set in heat pump mode, not conventional gas mode. The difference is the O/B terminal—it controls the reversing valve. Set it backwards and the system will blow cold in heating mode or warm when it should be cooling. The thermostat isn't defective. It's configured wrong.
For a Carrier ductless mini split, the rules are different. Most ductless units communicate over a proprietary connection, so a standard 24-volt thermostat usually doesn't work. You need the manufacturer's remote or a communication interface kit. I've seen contractors wire a conventional thermostat to a ductless unit and then call us saying the board is dead. The board was fine.
Take a picture of the old thermostat wiring before you remove it. That photo has saved more troubleshooting time than any tool in my bag.
Step 3: Check the electrical connections before powering up
Terminal screws loosen in transit. It sounds too simple to be a real failure point, but it is. I open returned units and find line-voltage wires that were never torqued to spec. Under-torqued terminals arc and over-torqued terminals snap. Both are field issues, not manufacturing defects.
Pull each connection, verify the wire is seated, and tighten to the torque value on the data plate or in the manual. Do the same for the low-voltage thermostat wires. A loose common wire creates intermittent problems that are nearly impossible to diagnose after the walls are closed.
Step 4: Test the condensate removal with water
Ductless mini splits create a surprising amount of condensate. The pump and drain line are the least glamorous parts of the system, which is exactly why they cause so many leak calls. I'm not a fan of waiting until a system runs for 12 hours to find out the drain is clogged with construction dust.
If the unit has a condensate pump, pour water into the drain pan until the pump kicks on. Watch the discharge line—is water actually moving? Does the pump shut off when the pan level drops? If there's a check valve, make sure it's installed in the right direction. Do this before startup, and you'll never be the installer who gets called back because a ceiling stained.
Step 5: Check airflow and filters
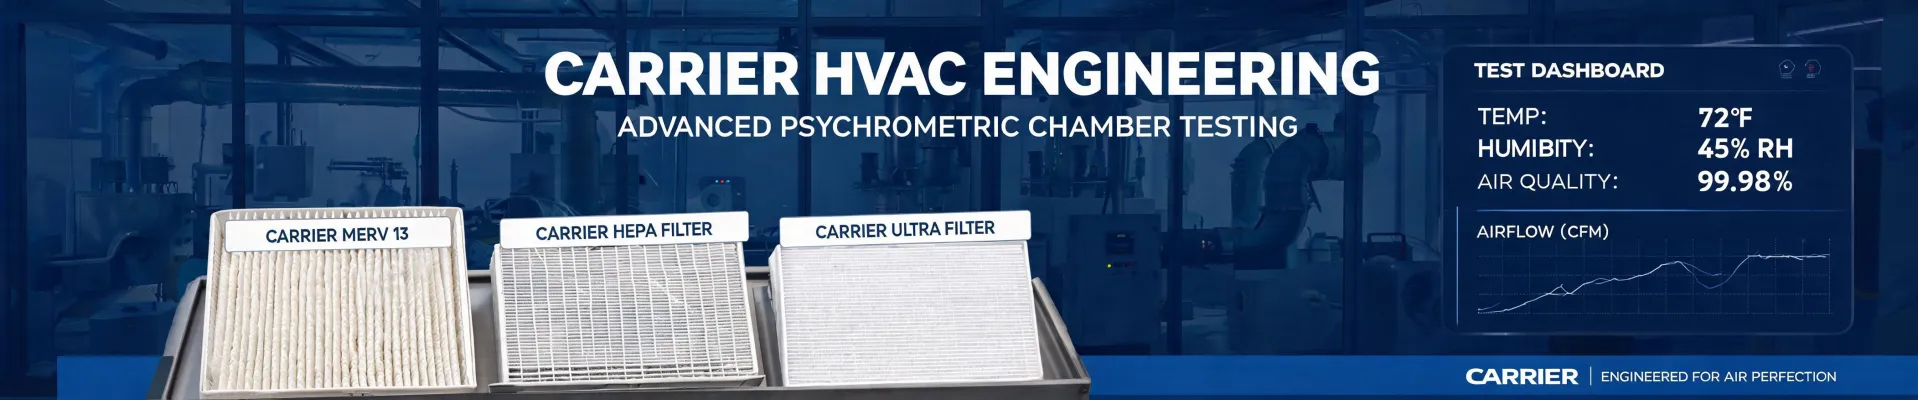
A dirty filter is the most common reason a mini split loses cooling capacity, and new construction is the usual suspect. Drywall dust gets into everything. Pull the washable filter, wash it, dry it, and reinstall it before the first run. Also check the indoor coil fins—if they're caked with dust, the unit can ice up in cooling mode.
This is a five-minute job that prevents a complaint that looks like a sealed-system failure but isn't. And it's the cheapest fix on this list.
Step 6: Register the system and save the proof
Warranty registration is a quality control step, not a paperwork step. When a unit fails three years in, the manufacturer asks for the installation date, model numbers, and serial numbers. If the longer coverage requires registration within a certain window, that five minutes at the kitchen table is the difference between a covered compressor and a very expensive invoice.
I review every warranty claim that crosses my desk. The claims that get denied are almost never denied because the part failed. They get denied because someone skipped registration or lost the original invoice. Save both.
What this checklist doesn't cover
I'm not an appliance technician, and I don't pretend to be one. If you call us about a laundry room appliance or a drinking water system, my honest answer is that I can't give you a repair manual. But I can point out where the confusion happens.
Heat pump dryers. A Bosch Series 8 8kg heat pump dryer uses a compressor and refrigerant to extract moisture from clothes. It's a clever system, but it's not a heating and cooling appliance and it doesn't connect to your Carrier heat pump thermostat. Appliance technicians handle those.
Water dispensers. The same parts discipline applies, though. If you're looking for Frigidaire water dispenser replacement parts, match the model number and use the manufacturer's genuine parts, just like you would with a Carrier control board. I can't tell you which specific Frigidaire part you need—that's outside my scope—but I can tell you that 'looks like it might fit' is not a specification.
Electric water heaters. Does an electric water heater use a lot of electricity? It can. A resistance-element water heater is one of the larger single loads in a building. Whether it's actually costing you depends on tank insulation, setpoint temperature, and usage patterns—not just the label on the side. According to the U.S. Department of Energy, heat pump water heaters can be two to three times more efficient than conventional electric resistance models. If you're investigating high energy bills, that's a conversation worth having with a plumbing contractor.
Common mistakes I still see
- Skipping Step 2 because it's the same thermostat model as the old one. If the old system ran on a gas furnace, the wiring and settings won't automatically work for a heat pump.
- Mounting the outdoor unit without enough clearance. Mini splits need airflow around the back and sides. Packing the unit tight against a wall makes the compressor work harder and shortens its life.
- Assuming a warranty return means the part is bad. A good chunk of the units we receive back test fine once the wiring and settings are corrected. Run this checklist before you pull a unit off the wall.
Bottom line: five minutes of verification beats five days of correction. I've seen the $22,000 version of that lesson, the stained ceiling version, and the one that just needed a clean filter. None of them were mysterious. They were all skipped checks. Run the list, take the photos, and keep the paperwork.

Greta Lindholm
Greta Lindholm is a household refrigeration analyst covering French-door, side-by-side, top- and bottom-mount refrigerators, mini fridges, beverage coolers, chest freezers, and upright freezers. She applies IEC 62552 and IEC 60335-2-24 while comparing energy consumption, usable volume, pull-down time, compartment temperature stability, freezing capacity, noise, door-seal leakage, refrigerant charge, and ambient-temperature performance. Her guides help importers, distributors, private-label teams, and appliance engineers select platforms around climate class, storage mix, efficiency labels, cabinet dimensions, service access, shipping density, and warranty exposure.
Leave a Reply