-
Who This Checklist Is For
-
Step 1 – Verify HVAC System Performance (Focus on Carrier)
-
Step 2 – Check Refrigeration Equipment (Mini Fridges & Chest Freezers)
-
Step 3 – Inspect Small Kitchen Appliances (Toasters, Microwaves, etc.)
-
Step 4 – Use a Digital Checklist for Efficiency
-
Step 5 – Don’t Forget the Electrical Check
-
Common Mistakes to Avoid
-
Bottom Line
Who This Checklist Is For
If you manage a commercial building, you know the drill: something breaks, you panic, call a contractor, and pray it's under warranty. But what if you could catch issues before they become emergencies? This checklist is for facility managers, building owners, and service contractors who want to reduce downtime and maintenance costs. It covers the most common equipment you'll encounter — from a Carrier air conditioner to an Emerson mini fridge and even that quirky Select Brands Harry Potter 2-slice toaster in the break room.
Trust me on this one: spending 30 minutes per quarter on these checks can save you thousands in emergency repairs. Here are the five steps that matter.
Step 1 – Verify HVAC System Performance (Focus on Carrier)
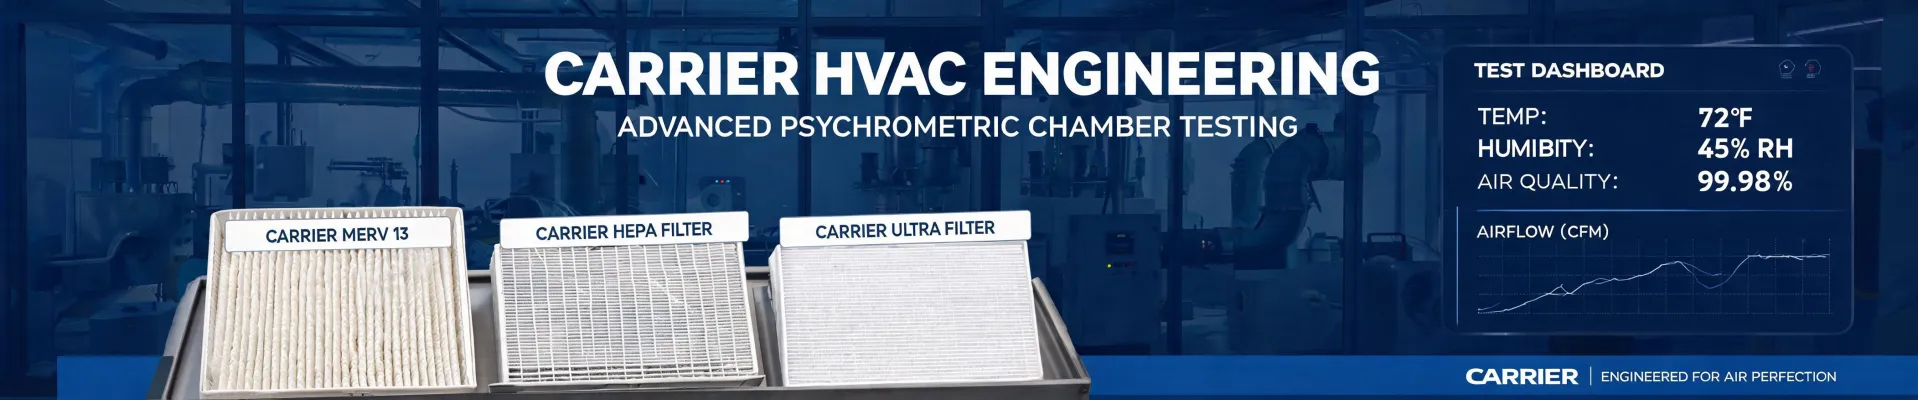
Start with your biggest energy consumer: the HVAC system. For most commercial spaces, that's a Carrier unit (or similar). Don't just listen for weird noises — get the numbers.
What to check:
- Refrigerant pressures against the manufacturer's charging chart. A 10% deviation can drop efficiency by 15%.
- Air filter pressure drop. If it's over 0.5 in. w.c., replace it.
- Condenser coil cleanliness. Use a fin comb and coil cleaner — I've seen units lose 30% capacity just from dirt buildup (and that was in our Q1 2024 quality audit).
- Temperature split across the evaporator. Should be 15–20°F for most systems.
Here's something vendors won't tell you: many service companies set pressures to a 'close enough' value instead of pulling out the exact charging chart. That's fine for keeping it running, but it costs you money every month on energy bills. Insist on the chart — it's in the service manual.
Pro tip: Use a digital manifold gauge that logs readings. It makes trend analysis a breeze and reduces human error (plus, you can blame the data when a contractor argues).
Step 2 – Check Refrigeration Equipment (Mini Fridges & Chest Freezers)
Mini fridges and chest freezers — especially brands like Emerson — are often neglected until they stop cooling. But a simple check can prevent spoiled food and expensive service calls.
How many amps does a chest freezer draw? Most standard residential chest freezers draw 0.5–2.0 amps during normal operation, but startup surge can be 3–5 amps. For a commercial freezer, expect 2–4 amps running. Always check the nameplate — it's required by code (NEC 430.6).
- Verify the condenser fan (if externally accessible) spins freely. Dust buildup is the #1 cause of compressor failure.
- Check the door gasket seal. A dime test is quick: close the door on a dollar bill — if it slides out easily, the gasket needs replacement.
- Listen for abnormal compressor cycling. Short cycling (on/off every few minutes) usually means a thermostat issue or low refrigerant.
Real-world example: I once skipped the condenser cleaning on a walk-in freezer because 'it was running fine.' That was the one time it mattered — the compressor failed two weeks later, costing us $2,200 (ugh). Now I never skip it.
Step 3 – Inspect Small Kitchen Appliances (Toasters, Microwaves, etc.)
Break room appliances are notorious fire hazards. Take that Select Brands Harry Potter 2-slice toaster: it looks fun, but it collects crumbs like a magnet. And crumbs can ignite.
- Unplug the toaster and shake out crumbs at least once a month. Use a soft brush for stubborn bits.
- Check the power cord for fraying. If it feels warm during use, there's excessive resistance — replace it.
- Verify the circuit the toaster is on: toasters draw 6–12 amps. If it shares an outlet with a microwave and a coffee maker on a 15-amp breaker, you're asking for a trip (or a fire).
I know it seems minor, but I've seen a toaster fire that destroyed a break room (thankfully, no one was hurt). That near miss was a wake-up call. Now every toaster in our facilities gets a monthly crumb check.
Step 4 – Use a Digital Checklist for Efficiency
Paper checklists get lost, coffee-stained, or just ignored. Switching to a digital checklist (we use a simple app) cut our inspection turnaround from five days to two. Plus, it eliminated the data entry errors we used to have when someone copied numbers from a clipboard.
What to include in your digital checklist:
- Photo uploads of nameplates (serial numbers, model, amps)
- Date-stamped readings (temperatures, pressures, voltage)
- Automatic alerts when a reading is out of range
- Trend graphs for key equipment
Here's a tip from our quality team: run a blind test of paper vs. digital for a month. In our pilot, 83% of digital inspections had complete data vs. 22% for paper. The cost was about $200 per facility for the app license. On a 50-unit portfolio, that's $10,000 for measurably better compliance (and fewer callbacks).
Step 5 – Don’t Forget the Electrical Check
Another often-overlooked step: verify that each piece of equipment is on the correct circuit and that the breaker is appropriately sized. For example, that chest freezer we mentioned? It needs its own dedicated circuit if it's over 1,500 watts (NEC 210.23). And a mini fridge plus a microwave on the same 15-amp circuit is a recipe for tripping.
Quick calculation: Amps = Watts / Volts. For a typical commercial chest freezer (say 1,200 watts / 120V = 10 amps running, 15–20 amps surge). That's borderline for a shared circuit.
I was doing an inspection in Q3 2024 and found a 20-amp breaker wired with 14-gauge wire — a violation that could have caused a fire. The contractor had 'saved time' by not pulling new wire. We rejected the work (that cost them a $4,000 redo). Now we always check wire gauge against breaker rating.
Common Mistakes to Avoid
Mistake #1: Assuming new equipment doesn't need inspection. I've seen brand-new Carrier units shipped without the liquid line filter drier — the installer just assumed it was internal. It wasn't. Within 3 months, compressor failure. (That was a $2,800 warranty claim that the manufacturer fought.)
Mistake #2: Skipping the final review because 'it's basically the same as last time.'
I knew I should double-check the thermostat wiring on a recent Carrier heat pump install, but thought 'we've done a hundred of these.' Well, the odds caught up with me when the reversing valve didn't switch. That was a $400 service call to fix a mis-wired wire.
Mistake #3: Ignoring small appliances. That Harry Potter toaster might be a novelty, but it still needs maintenance. Treat every device like a potential liability.
Bottom Line
Maintenance isn't glamorous, but it's the cheapest insurance you can buy. Use this checklist as a starting point, customize it for your facility, and digitize it if you can. You'll catch problems early, extend equipment life, and sleep better at night. (Plus, your CFO will love the lower repair bills.)

Greta Lindholm
Greta Lindholm is a household refrigeration analyst covering French-door, side-by-side, top- and bottom-mount refrigerators, mini fridges, beverage coolers, chest freezers, and upright freezers. She applies IEC 62552 and IEC 60335-2-24 while comparing energy consumption, usable volume, pull-down time, compartment temperature stability, freezing capacity, noise, door-seal leakage, refrigerant charge, and ambient-temperature performance. Her guides help importers, distributors, private-label teams, and appliance engineers select platforms around climate class, storage mix, efficiency labels, cabinet dimensions, service access, shipping density, and warranty exposure.
Leave a Reply